
| 일 | 월 | 화 | 수 | 목 | 금 | 토 |
|---|---|---|---|---|---|---|
| 1 | ||||||
| 2 | 3 | 4 | 5 | 6 | 7 | 8 |
| 9 | 10 | 11 | 12 | 13 | 14 | 15 |
| 16 | 17 | 18 | 19 | 20 | 21 | 22 |
| 23 | 24 | 25 | 26 | 27 | 28 | 29 |
| 30 | 31 |
- Lock
- text
- Synchronized
- CAS
- MVCC
- jpa
- 스프링
- gc
- 백엔드
- reflection
- Atomic Type
- iterable
- 가비지 컬렉션
- Di
- Locking Read
- 가비지 컬렉터
- 동시성
- 데이터 타입
- MySQL
- Varchar
- 동시성 문제
- db
- java
- 자바
- iterator
- foreach
- Today
- Total
과정을 즐기자
스프링에서 파일(이미지, 동영상) 업로드/다운로드 본문
프로젝트를 하다보면 파일(이미지, 동영상)을 업로드/다운로드 하는 경우가 있습니다.
한번 정리해보면 좋을 것 같아서 예시를 만들어봤습니다.
예시와 함께 이미지, 동영상을 저장하고 반환하는 방법에 대해 정리해보겠습니다.
파일을 HTTP를 이용해서 주고받을 때 Content-Type은 multipart/form-data 입니다.
이때 크게 2가지 방식을 사용할 수 있습니다.
첫 번째는 transferTo() 메소드를 사용하여 전체 파일 내용을 메모리에 로드한 후에 디스크로 복사하는 방식입니다.
두 번째는 Files.copy() 메소드를 사용하여 파일을 작은 조각씩 읽어서 복사하는 방식입니다.
첫 번째 방식부터 살펴보겠습니다.
첫 번째 방식 - 전체 파일 내용을 메모리에 로드
1개의 파일을 서버에 업로드
FileController
@RequiredArgsConstructor
@RestController
public class FileController {

    private final FileService fileService;

    @PostMapping("/api/file")
    public void fileUpload(@RequestPart MultipartFile uploadFile) {
        fileService.fileUploadOnServer(uploadFile);
    }

    ...
}
@RequestPart는 HTTP 요청의 멀티파트(form-data) 데이터를 처리하기 위해 사용됩니다.
FileService
@Service
public class FileService {

    public void fileUploadOnServer(MultipartFile uploadFile) {
        String fullPath = STORAGE_ADDRESS + uploadFile.getOriginalFilename();
        try {
            uploadFile.transferTo(new File(fullPath));
        } catch (IOException e) {
            throw new IllegalArgumentException();
        }
    }

     ...
}
fullPath는 (서버에 저장할 주소) + (파일의 이름)을 나타냅니다.
Postman을 이용해서 확인해보겠습니다.

여러 개의 파일을 서버에 업로드
FileController
@RequiredArgsConstructor
@RestController
public class FileController {

    private final FileService fileService;

       ...

    @PostMapping("/api/files")
    public void filesUpload(@RequestPart MultipartFile[] uploadFiles) {
        fileService.filesUploadOnServer(uploadFiles);
    }

   ...
}
1개만 업로드할 때와 차이점은 MultiPartFile을 배열로 받는다는 것입니다.
FileService
@Service
public class FileService {

    ...

    public void filesUploadOnServer(MultipartFile[] uploadFiles) {
        for (MultipartFile uploadFile : uploadFiles) {
            String fullPath = STORAGE_ADDRESS + uploadFile.getOriginalFilename();
            try {
                uploadFile.transferTo(new File(fullPath));
            } catch (IOException e) {
                throw new IllegalArgumentException();
            }
        }
    }

   ...
}
배열로 받았기 때문에 반복문으로 하나씩 업로드 해주면 됩니다.
첫번째는 이미지 두번째는 동영상을 업로드하는 예시를 postman으로 확인해보겠습니다.

저장한 파일 가져오기
이번에는 서버에 저장된 파일을 가져오는 예시를 만들어보겠습니다.
FileController
@RequiredArgsConstructor
@RestController
public class FileController {

    private final FileService fileService;

     ...

    @GetMapping("/api/file")
    public ResponseEntity<UrlResource> getFile(@RequestParam String fileName) {
        UrlResource fileFromServer = fileService.getFileFromServer(fileName);
        MediaType mediaType = fileService.getMediaType(fileName);
        return ResponseEntity.ok()
                .contentType(mediaType)
                .body(fileFromServer);
    }
}
fileName을 받아서 서버에 저장된 파일 중에서 파일 이름과 일치하는 파일을 반환합니다.
FileService
@Service
public class FileService {

       ...

    public UrlResource getFileFromServer(String fileName) {
        try {
            return new UrlResource("file:" + STORAGE_ADDRESS + fileName);
        } catch (MalformedURLException e) {
            throw new IllegalArgumentException();
        }
    }

    public MediaType getMediaType(String fileName) {
        try {
            return MediaType.parseMediaType(
                    Files.probeContentType(
                    Paths.get("file:" + STORAGE_ADDRESS + fileName)));
        } catch (IOException e) {
            throw new IllegalArgumentException();
        }
    }
}
getFileFromServer()은 서버에 저장된 파일 중에서 파일 이름과 일치하는 파일을 UrlResource로 반환합니다.
이때 파일은 .pdf, .jpeg, .mov 등으로 끝나는데 getMediaType()으로 어떠한 MediaType인지 확인합니다.
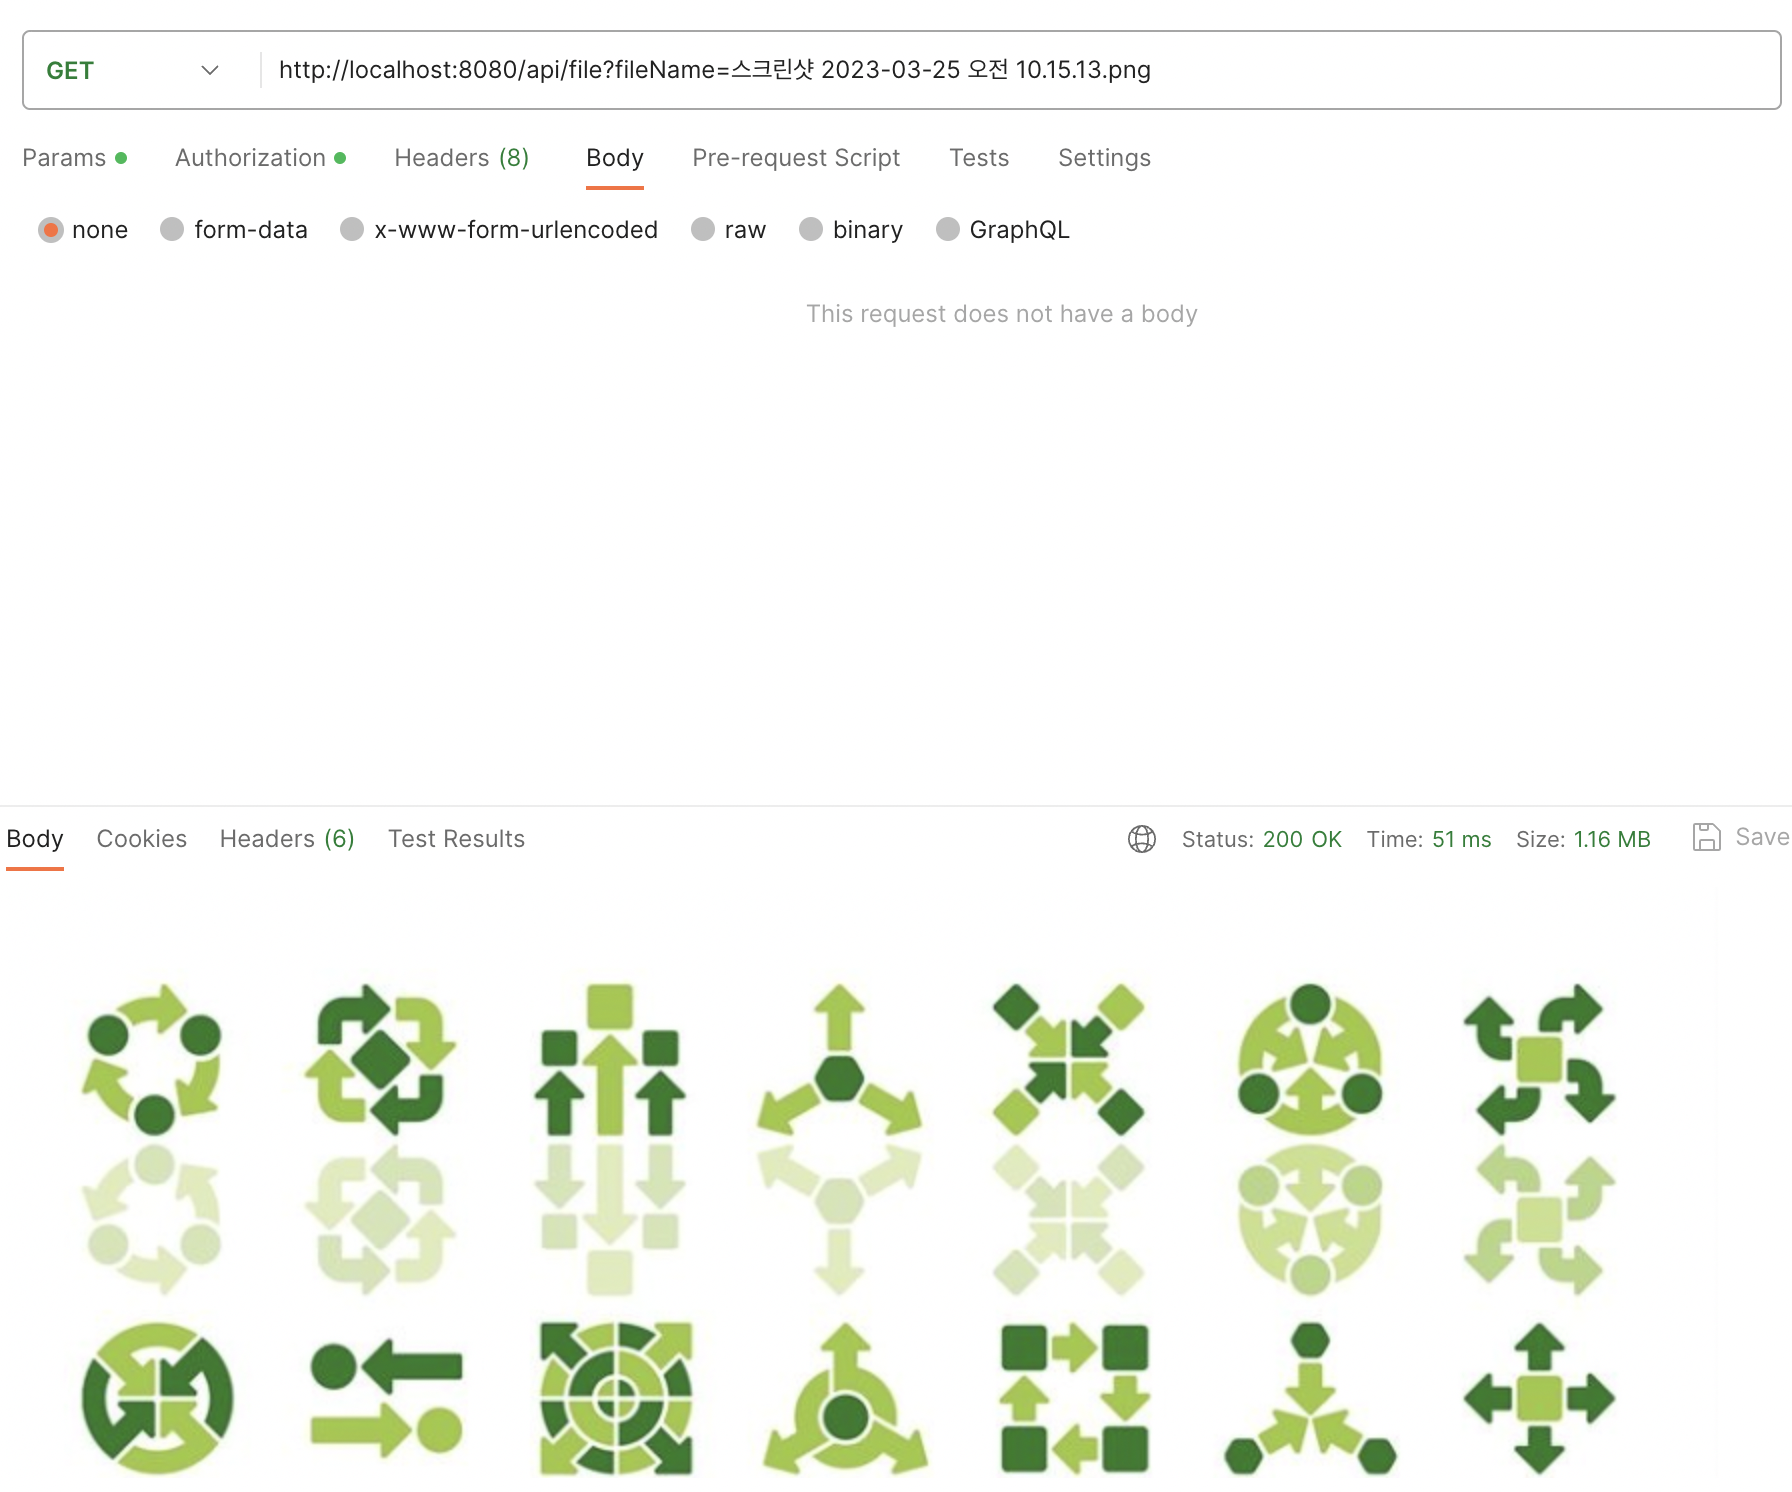
파일을 제대로 반환하는지 확인해보겠습니다.
두번째 방식 - 파일을 작은 조각으로 나누기
하지만 위와 같은 방식은 transferTo() 메소드를 사용하는 방식은 전체 파일 내용을 메모리에 로드한 후
디스크로 복사하는 방식이어서 대용량 파일의 경우 메모리 부족이나 성능 문제를 일으킬 수 있습니다.
따라서 Spring 공식문서에서는 두 번째 방식으로 가이드하고 있습니다.
스트리밍 방식은 대용량 파일을 한번에 메모리에 올리지 않아도 되며 작은 조각으로 나누어 읽는 동안 다른 작업을 수행하거나
읽은 데이터를 바로 디스크에 쓰기 때문에 전체적인 작업이 더 빠르게 수행될 수 있습니다.
파일 업로드
public void saveToServer(final MultipartFile uploadVideo, final long memberId,
				final VideoInfoSaveRequest dto) {
    String fileName = getFileName(uploadVideo, memberId, dto);

    try {
        if (uploadVideo.isEmpty()) {
            throw new BadRequestException(EMPTY_VIDEO_BAD_REQUEST.message);
        }

        Path destinationFile = videoDir.resolve(Paths.get(fileName));

        // security check
        if (!destinationFile.getParent().equals(videoDir.toAbsolutePath())) {
            throw new BadRequestException(VIDEO_UPLOAD_SECURITY_BAD_REQUEST.message);
        }

        try (InputStream inputStream = uploadVideo.getInputStream()) {
            Files.copy(inputStream, destinationFile,
            		StandardCopyOption.REPLACE_EXISTING);
        }
    }
    catch (IOException e) {
        throw new BadRequestException(SAVE_TO_VIDEO_BAD_REQUEST.message);
    }
}
파일이 존재하는 지 확인한 후 try-with-resources 방식으로 파일을 업로드합니다.
파일 정보 가져오기
public Resource loadAsResource(final long videoInfoId) {
    String filename = getFilename(videoInfoId);

    try {
        Path file = videoDir.resolve(filename);
        Resource resource = new UrlResource(file.toUri());
        if (resource.exists() || resource.isReadable()) {
            return resource;
        }
        else {
            throw new NotFoundException(VIDEO_NOT_FOUND.message);
        }

    } catch (MalformedURLException e) {
        throw new BadRequestException(MALFORMED_URL_BAD_REQUEST.message);
    }
}
파일 이름으로 경로에 있는 파일을 Resource로 받아옵니다.
정리
지금까지 파일을 저장하고 반환하는 것을 알아보았습니다.
이러한 방법으로 웹툰의 만화를 보여줄 수 있고 저장된 동영상을 보여줄 수 있습니다.
또한 파일을 프론트엔드에 넘겨주고 별도의 처리를 해서 사용자가 다운로드 받을 때도 활용할 수 있습니다.
전체 코드는 github에서 확인하실 수 있습니다.
GitHub - 320Hwany/ImageAndVideo: 이미지, 동영상 업로드/다운로드 테스트
이미지, 동영상 업로드/다운로드 테스트. Contribute to 320Hwany/ImageAndVideo development by creating an account on GitHub.
github.com
참고한 자료
Getting Started | Uploading Files
To start a Spring Boot MVC application, you first need a starter. In this sample, spring-boot-starter-thymeleaf and spring-boot-starter-web are already added as dependencies. To upload files with Servlet containers, you need to register a MultipartConfigEl
spring.io
'Spring' 카테고리의 다른 글
| 내부 클래스를 스프링 빈으로 등록할 수 있을까? (0) | 2023.07.07 |
|---|---|
| 이메일 전송 비동기로 처리하기 [Spring Boot] (0) | 2023.06.10 |
| 로컬 캐시를 적용하여 이메일로 전송하고자 하는 퀴즈 캐싱하기 (0) | 2023.05.03 |
| [Spring Boot] 이메일로 사용자 인증하기 (0) | 2023.04.22 |
| 서비스 추상화 (0) | 2023.04.11 |

